Showing posts with label Eyes. Show all posts

Monday, April 2, 2012

Make your eyes POP!

EyeLighter by CARGO~
This product comes in three different colors;
    * White:  this color is the universal brightener, but use it sparingly.  The white can be very bright, and is best used a night.
    * Gold:  this is absolutely lovely on olive, or darker skinned toned women.
    * Pink: perfect for fair to medium skin. 


And just for fun...
Ombre lips!


Thursday, February 23, 2012

Cat Eye Makeup

Ever wonder how to get that perfect cat eye look with your eye makeup? In essence, it should be easy since after all, its just a mere triangle on the outer corner of your eye. But, the "cat eye"look can be tricky if you don't know what you're doing. . .you might end up looking like you have a black eye :) I know for me personally, its harder to do on myself than on my clients. I've found a few videos that show easy step by step directions to achieve a cat eye look. 

Here are a few tips I find helpful:

1. Use a gel liner w/brush - I find the brush is easier to glide and make more detailed strokes. You could use a liquid liner, but the liquid is harder to correct if you make a mistake. 
2. Start by lining your eye how you would normally. 
3. Decide how far out you want the "winged" tip & how angled up/across you want it. Draw that line to connect with the liner you just put on your eye in step 2. 
4. Now, starting with your brush at the tip of the wing, draw a straight line across toward the center of your eye, all while gradually bringing the line to your lash line (this is the confusing part). I've found that if you do this with your eye open, then close your eye when your brush gets to the round of the eye (your wing should not be on the eye itself), it helps get that cat eye shape better. The eyeliner should be thicker on the outer half, then get thinner as it comes to your inner eye. 
5. With your brush back at the wing tip, pull it down to meet the bottom lash line. You can line the bottom lash line as thick or thin as you like. 
6. Go back over the winged part and fill in any spots with liner & you're done!


Cat Eye with liquid liner View here

Gregory Arlt with MAC Cosmetics Pin-Up Girl look (Notice his version of the cat eye is a simple slanted line)

LOVE this makeup tutorial video!

Saw this yesterday & I LOVE how she does this look!


Tuesday, January 31, 2012

Birthday Time!

Oh my, its been awhile since I did these makeovers, but still need to post! :)  I did makeup for about 15 girls at a Birthday party! It was FUN, but definitely tiring! I used the airbrush makeup on all of them, then applied blush, eye liner, mascara and eye shadow (anywhere from neutral to smokey eyes).


Saturday, January 21, 2012

Beauty 2012


This one is long & just goes through the process of getting ready, but I really love the blonde hair girls makeup!!!


Something I just saw (from the second video), are Profile Facial Shields! I've never seen these before!! Makes total sense though, so the person getting their hair done won't get a face full of hairspray!


Makeup Trends 2012

Beauty Trend 2012: METALLICS 
Winter/Spring

As seen on the fashion runways almost all over, metallic eye shadows are the in thing for this winter/spring. Some designers chose HEAVY metallic, while others went for a SHIMMER metallic. For everyday day wear, I'd suggest keeping the metallic to a nice soft shimmery shade. If you want to do a more dramatic look, keep it for evenings or dates. 


As seen in Giorgio Armani, Fendi, Rodarte, John Galliano & more...


Beauty Trend 2012: Pretty Perfect
Spring/Summer

This trend seems to be my friend recently :) I LOVE the more simple natural look! The idea behind it is to look natural & youthful. Curled lashes, candy-coloured lips and flushed cheeks - girlish prettiness is in for spring*

*Vogue citing 

As seen in Louis Vuitton, Nina Ricci, Valentino, Jil Sanders & more...


Monday, December 12, 2011

Makeup & Movies // 10

MOVIE

Jingle All the Way


MAKEUP

Urban Decay 24/7 Glide Eye Pencil


Friday, December 9, 2011

Makeup & Movies // 9

MOVIE

Prep and Landing


MAKEUP

MAC Eyeshadow Pigment

SUPER pigmented to create a dramatic look! It does not take much to create the look you want. I like to use these on the entire eye lid area, but they definitely look good blended with other colors as well. 


Wednesday, December 7, 2011

Sunday, December 4, 2011

Makeup & Movies // 4

MOVIE
Santa Clause 3: The Escape Clause 

MAKEUP
L'OREAL Paris Extra-Volume Collagen Mascara

My new favorite mascara! Get THICK, LONG lashes at drug-store prices! I apply two layers, and come out with lovely lashes :)


Saturday, December 3, 2011

Makeup & Movies // 3

MOVIE
Home Alone


MAKEUP
Self Adhesive Eyelashes
Self-adhesive lashes are GREAT for applying on yourself! No glue, meaning no mess or glueing your lashes and everything else together!


Thursday, December 1, 2011

Makeup & Movies

This month I'll recommend a makeup product that you should try & a Christmas movie to watch!

MOVIE

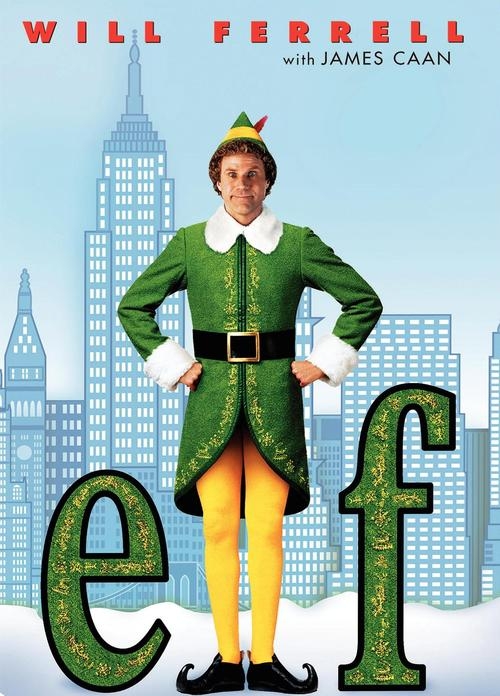
ELF [of course, my all-time fav Christmas movie]


MAKEUP

Urban Decay Deluxe Eyeshadow in Honey


"Honey" is a shimmery gold color & would look GREAT for the holidays! (Not the color pictured here)


Saturday, November 5, 2011

Boudoir Makeup [from Sept]

Here are a few shots from a session we did back in September! I LOVE how the smokey eye turned out!!

Smokey eye with nude lip

Brown eye with red lip

Pin-up look


Friday, September 23, 2011

Va-Va Voom Lashes


Most women/girls don't usually wear false lashes, unless its a "big" event (wedding, prom, Christmas function etc). I must admit, it is pretty hard to put false lashes on yourself until you have done it several times. I was doing a wedding today and the bride decided to go with single lashes instead of the regular full length lashes. I think I've only done one application with these, so I was pretty new to the concept myself. BUT, they were SUPER easy! She decided to go with these because she didn't like the "heavy" feel normal false lashes can sometimes bring. I added four(4) single lashes to the outer corners of each eye & they looked amazing! Single lashes can add just a bit of drama to the eye without going overboard, if you're not one to usually go for the false eyelashes. Plus, I think they'd be a lot easier to apply since you don't have the whole eye to line up at once (before the glue dries).

Let me give you a quick tip while I'm on the subject...When applying glue false lashes, add the glue then let it dry for a few seconds before applying them to your eyes. You want the glue to be more tacky, that way it won't slide on your eye while you're trying to align them. You can even blow on the glue real quick to speed up the process.
Another option instead of the full length lash, is the half-lash. These are a step up from the single lashes, but still, not as dramatic as the full set. They are attached together, so the application is similar to the full length lashes. Make sure you start the alignment at the outer corner of the eye.

Most lashes you can pick up at Ulta Beauty, Sephora or Sally's for a very reasonable price ($3-$5). If you're only going to wear them once or twice, don't spend a lot on the "designer" lashes (MAC, Urban Decay, etc), you'll be spending $15-$30 on lashes!

Saturday, July 23, 2011

Model photoshoot

Today I helped my photographer friend, Ron, with a photo shoot he did for a model. We did two makeup looks, and of course, they got TONS of great photo's all day!
The first look we did was inspired by the color green. I had these awesome lashes that were black at the base, green at the tips and then had feathers on the outer edges. SUUPER cute! So I did green & yellow for the eye shadow (NYX) then lined her eyes with Smashbox's black cream eye liner. For the lips we went for nude, so I used a nude lip color by MAC.


For the second look (I was pushing for time, so I think she ended up re-doing her lips) she had a leopard print top, so I did a brown & gold theme. The eyes I used MAC eye shadow in a gold & dark brown on the outer corners. Lined them again with Smashbox black cream eye liner. For the lips, the look we had found was this super awesome gold lip that was lined with black color, then had a line of white down the center. . . I was rushing through this part, so I wasn't too happy with the white in the end. But I LOVED the gold & black!!

Thursday, March 17, 2011

Cotton Candy!

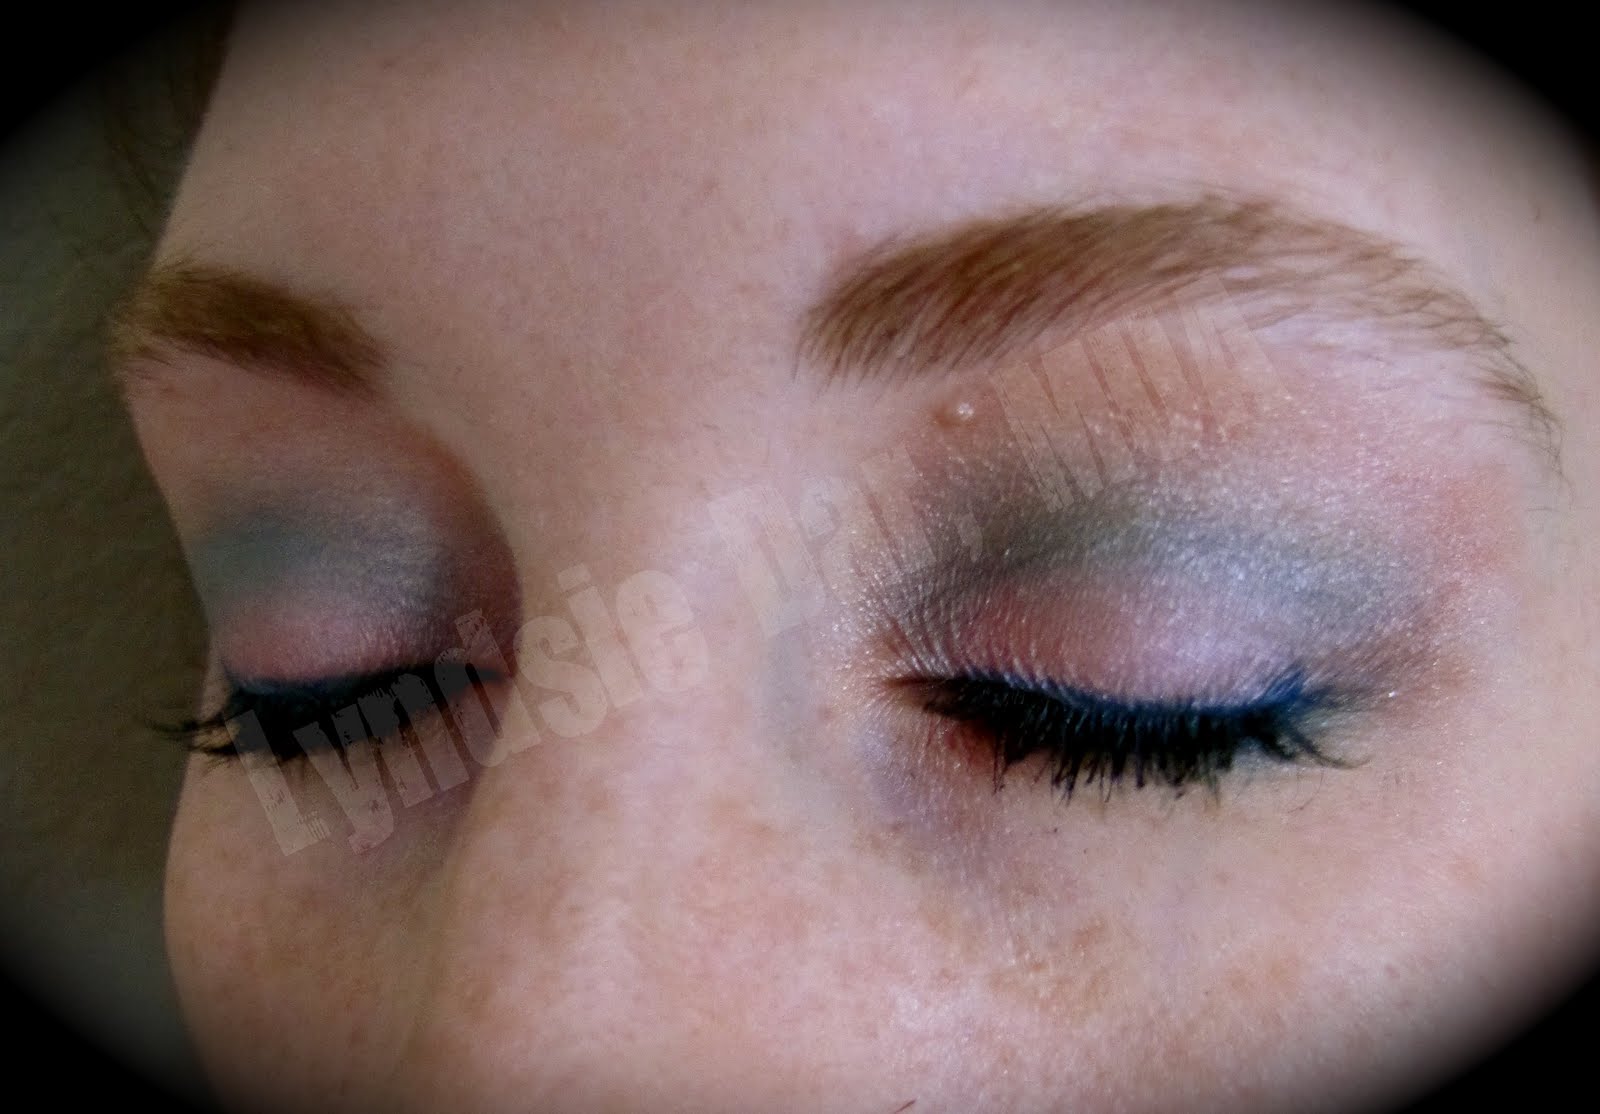
I was inspired by my tutu business (www.fluffcaketutus.blogspot.com) on doing makeup inspired by cotton candy! Here's what I came up with !

I used MAC eye shadows; Urban Decay eyeliner in blue; Smashbox Mascara in black


close-up

Wednesday, February 2, 2011

Color!

This past Saturday I got to do a colorful eye makeup look! It was a lot of fun, and came out really good! My favorite photographer did an awesome shoot with me, and it only took 30 min of shooting to get some great shots.

Eye: MAC eye shadow in Electric Eel, Stars N Rockets, Fig 1, Chrome Yellow, White Frost,  and Pink. Cover Girl eye shadow in Lime Green. Urban Decay eye liner in Zero. Smashbox Hyperlash Mascara in Blackout.
Lip: Marykay lipgloss in Starry. MAC Eye Pigment in Violet. 


Thursday, January 13, 2011

"Smokey Eye" Photoshoot

The photoshoot I had last week ended up being cancelled. So I ended up not getting to do a smokey eye, but I had practiced one on myself, so I'll share that look with you. 

1. Apply black eye shadow all over the eye lid & into the crease  (I used MAC, matte).
2. Apply black eye shadow under eye.
3. Very slowing & precisely bring the line from the crease towards the nose. The line should look very prominent. 
4. Blend eye shadow & edges to soften look.
5. Apply a black eyeliner on upper eyelashes and water line. If you want to make the eye POP even more, apply liner under the lower lash line as well. 
6. Apply false eyelashes, if desired.
7. Curl lashes, apply mascara.

Monday, November 15, 2010

Era Makeup

During my makeup schooling, I had to do era makeup for various years in the makeup world. Below are the few I chose to do:

20's Makeup - Dark eye makeup, pale face & lips.


50's Makeup - Pale face, nude eye makeup, RED lips, rosy cheeks.


70's Makeup - Tanned face, color makeup & coordinating lips (peace era).

Related Posts Plugin for WordPress, Blogger...